
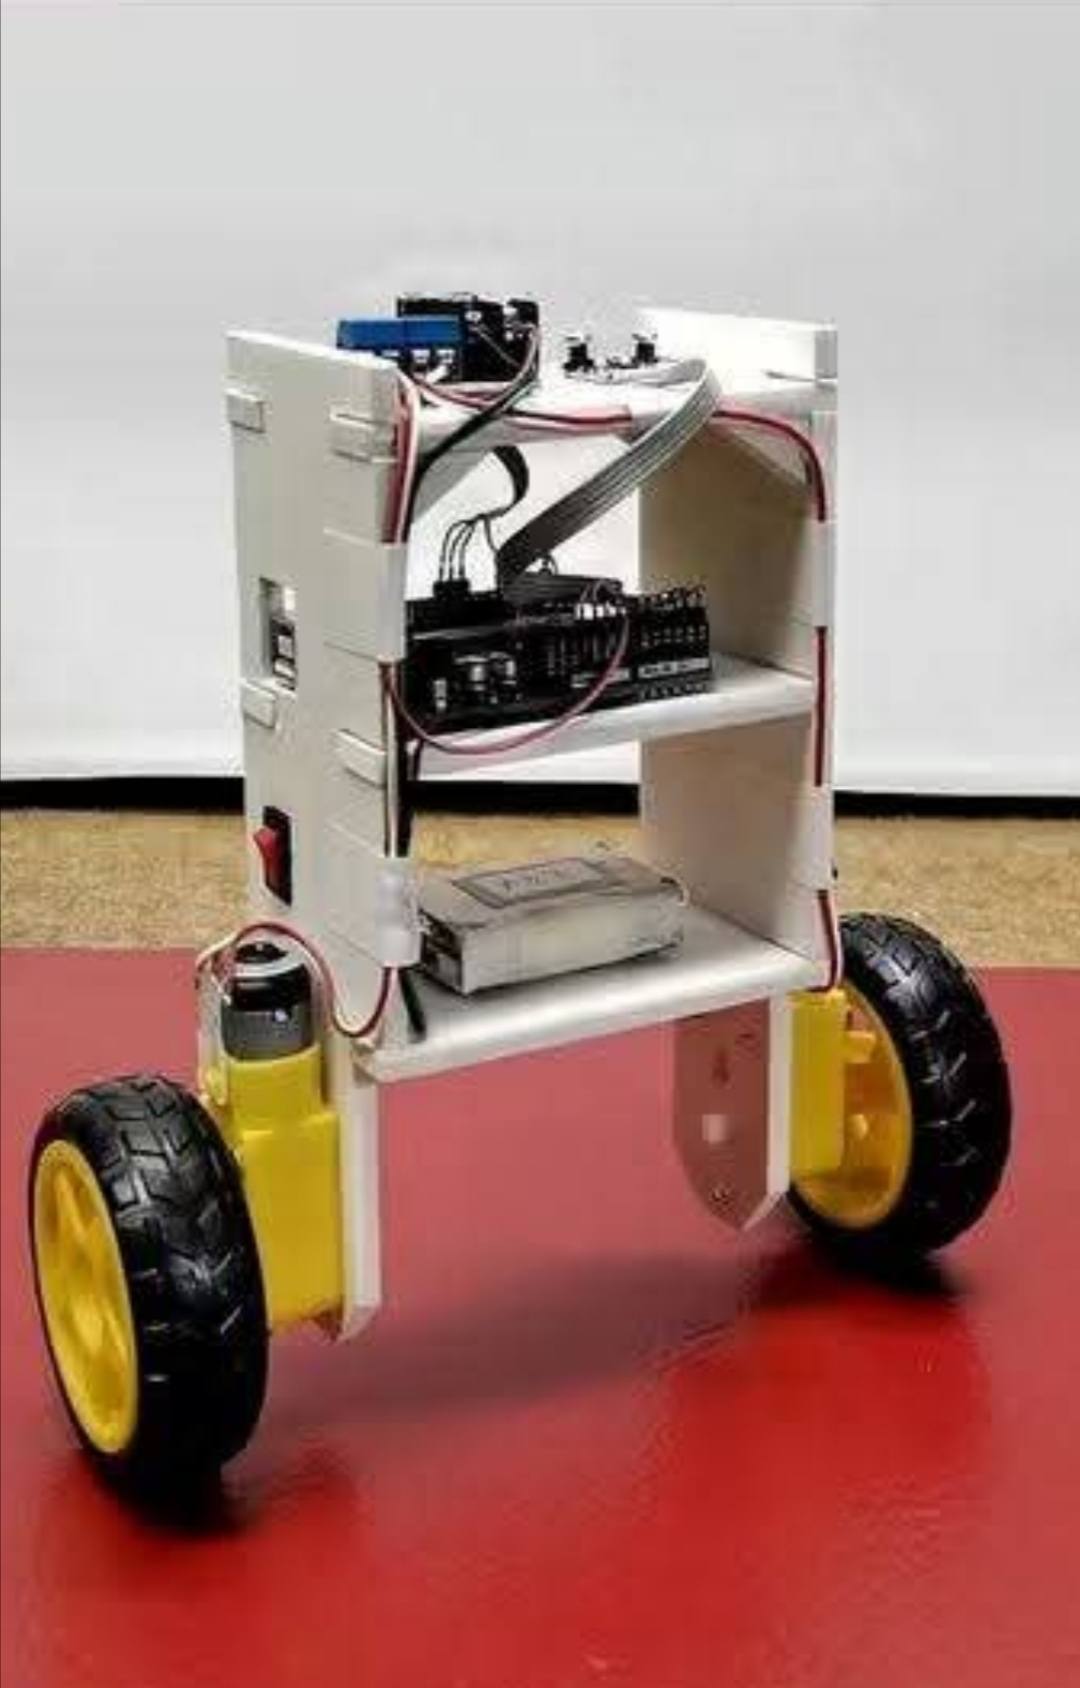
📌 What is a Self-Balancing Robot?
A self-balancing robot is a two-wheel robot that stays upright using:
- MPU6050 gyro/accelerometer
- Arduino UNO for control
- H-bridge motor driver (L298N / MX1508)
- DC gear motors
- PID control to keep balance
It works exactly like a Segway — always correcting itself.
🧱 Main Hardware Needed
✔ Arduino UNO
✔ MPU6050 Gyro Sensor
✔ L298N or MX1508 Motor Driver
✔ 2× DC Gear Motors with wheels
✔ Battery (7.4V Li-ion or 2× 18650 with holder)
✔ Switch
✔ Jumper wires
✔ Robot frame (can be acrylic, 3D printed, or DIY)
🔌 Wiring Diagram (Same as Your Image)

MPU6050 → Arduino
| MPU6050 | Arduino UNO |
|---|---|
| VCC | 5V |
| GND | GND |
| SCL | A5 |
| SDA | A4 |
| INT | D2 |
L298N / MX1508 → Arduino
| Motor Driver | Arduino UNO |
|---|---|
| IN1 | D8 |
| IN2 | D9 |
| IN3 | D10 |
| IN4 | D11 |
| ENA / PWMA | D5 |
| ENB / PWMB | D6 |
Motors
Left motor → OUT1 + OUT2
Right motor → OUT3 + OUT4
Battery
Battery → Switch → Motor Driver 12V input
Motor Driver 5V OUT (if available) → Arduino VIN
⚠ Do NOT power Arduino from USB while battery is connected.
🧮 How The Robot Balances (Simple Explanation)
- MPU6050 reads tilt angle of the robot.
- Arduino calculates error angle.
- PID algorithm produces correction speed.
- Motor driver spins wheels forward/backward to stay upright.
🧾 FULL ARDUINO CODE (Complete & Working)
This code uses:
- MPU6050 library
- PID control
- Smooth angle filtering
👉 Before uploading, install these libraries:
✔ Adafruit MPU6050
✔ Adafruit Sensor
✔ PID_v1
#include <Wire.h>
#include <PID_v1.h>
#include <Adafruit_MPU6050.h>
#include <Adafruit_Sensor.h>

Adafruit_MPU6050 mpu;

// Motor pins
#define IN1 8
#define IN2 9
#define IN3 10
#define IN4 11
#define ENA 5  // PWM
#define ENB 6  // PWM

double setpoint = 0;       // Target balance angle
double input, output;

// PID constants — adjust for best balance
double Kp = 30;
double Ki = 1.2;
double Kd = 0.8;

PID pid(&input, &output, &setpoint, Kp, Ki, Kd, DIRECT);

float getAngle() {
  sensors_event_t a, g, temp;
  mpu.getEvent(&a, &g, &temp);

  // basic tilt calculation (pitch)
  float angle = atan2(a.acceleration.x, a.acceleration.z) * 57.3;
  return angle;
}

void motorControl(double speed) {
  int pwm = constrain(abs(speed), 0, 255);

  if (speed > 0) {
    // lean forward → drive motors forward
    digitalWrite(IN1, HIGH);
    digitalWrite(IN2, LOW);
    digitalWrite(IN3, HIGH);
    digitalWrite(IN4, LOW);
  } else {
    // lean backward → drive motors backward
    digitalWrite(IN1, LOW);
    digitalWrite(IN2, HIGH);
    digitalWrite(IN3, LOW);
    digitalWrite(IN4, HIGH);
  }

  analogWrite(ENA, pwm);
  analogWrite(ENB, pwm);
}

void setup() {
  Serial.begin(115200);
  Wire.begin();

  mpu.begin();
  delay(1000);

  pinMode(IN1, OUTPUT);
  pinMode(IN2, OUTPUT);
  pinMode(IN3, OUTPUT);
  pinMode(IN4, OUTPUT);
  pinMode(ENA, OUTPUT);
  pinMode(ENB, OUTPUT);

  pid.SetMode(AUTOMATIC);
  pid.SetOutputLimits(-255, 255);
}

void loop() {
  input = getAngle();

  pid.Compute();

  motorControl(output);
}
🛠 How to Tune PID (Very Important)
Your robot will only balance if PID is tuned correctly.
Start like this:
- Increase Kp until robot starts oscillating.
- Increase Kd until oscillation slows.
- Increase Ki slowly to fix small drifting.
Best values often:
Kp = 25–40
Kd = 0.5–3
Ki = 0.5–1.5
📝 Extra Tips
✅ Mount MPU6050 firmly (if loose → robot shakes)
✅ Keep wires short
✅ Motors must be equal speed
✅ Battery must be strong (7.4V recommended)
Hashtags (English + Tech Focus)
#Arduino #ArduinoUNO #SelfBalancingRobot
#BalancingRobot #MPU6050 #RoboticsProject
#RobotDIY #ElectronicsProjects #MakerProject
#STEM #TechDIY #CodingProject #Microcontroller
#EngineeringStudent #RobotDesign #RobotBuild
#L298N #DIYRobot #OpenSourceHardware
#ArduinoProjects #TechInnovation
🇰🇭 Khmer + English Mixed Hashtags
#ArduinoCambodia #RobotCambodia #STEMCambodia
#រ៉ូបូត #រៀនអេឡិចត្រូនិក #គម្រោងArduino
#MPU6050 #កុំព្យូទ័រតេច
#យុវវ័យបង្កើតរ៉ូបូត #វិទ្យាសាស្រ្តបច្ចេកវិទ្យា
#មេកានិក #អេឡិចត្រូនិក